DIY Naturally Dyed Easter Egg Tutorial
Remember the gorgeous, naturally dyed Easter eggs from our latest Customizable Short Film? Well, those beauties generated so much buzz, we knew it was time for a DIY post on how to create your own rainbow hued basket of Easter delights. Check out our tutorial video here (or below!), then enjoy the step-by-step instructions!
First, you’ll want to hard boil your eggs (ours are sourced from local free-range chickens, which we highly recommend!).
For each color desired, boil 2 cups of water along with 1 Tablespoon of salt.
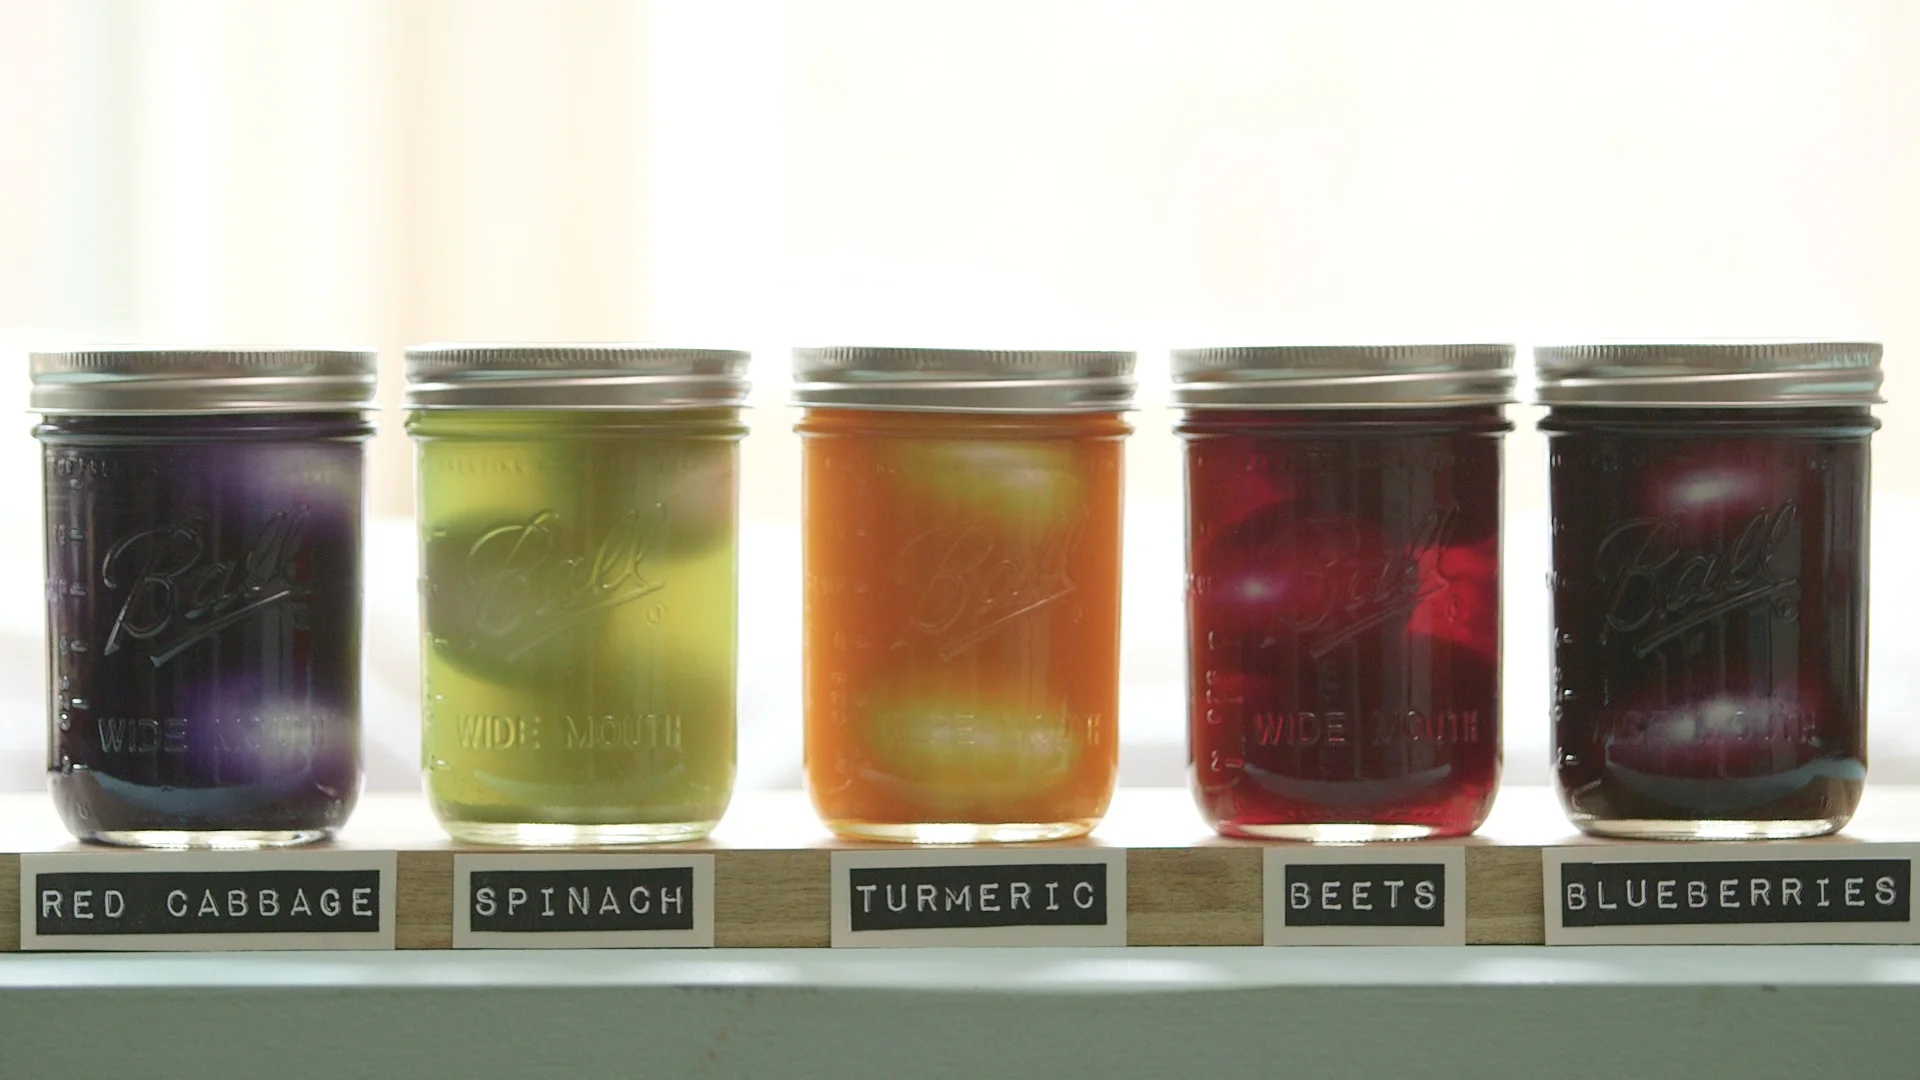
While waiting for the water to boil, prep your fruits, veggies, and spices. Red cabbage gives varying shades of blue (who would have guessed!), while blueberries produce purple tones. Spinach is suitable for a springy green, turmeric for sunshine yellow, and beets for a rosy pink.
Once the water reaches a rolling boil, add the color-making fruit or veggie and simmer for at least 30 minutes. The longer you simmer, the bolder the color!
After the concoctions have cooled, strain the liquid into jars or bowls.
Add 1 Tablespoon of vinegar to every 2 cups of liquid. This causes a chemical reaction that helps the dye bond to the egg shell. So not only is this a festive DIY, it’s also a science project!
Gently drop your hard boiled and cooled eggs into the containers of dye. Let soak overnight in the fridge for the most vibrant results. Shorten soaking time for pastel colors, or stagger the timing for a progressive rainbow-esque result like ours.
Create your own unique colors by combining ingredients during the simmering process, or trying new veggies and fruits altogether.
We’d love to see how your DIY Easter eggs turn out, so feel free to share a pic or comment!


